
This tutorial was written on Monday, June 18th 2012 by Mystery Designs. It was written in PSP X2 and assumes a good, working knowledge of the program. Any similarity to other tutorials is purely coincidental and not done intentionally. Please do not copy or claim the tutorial as your own. If you wish to do so, please link to my blog should groups or forums use it in challenges, and please leave me a comment with a link to where it is being used. Thanks :)
**Supplies Needed**
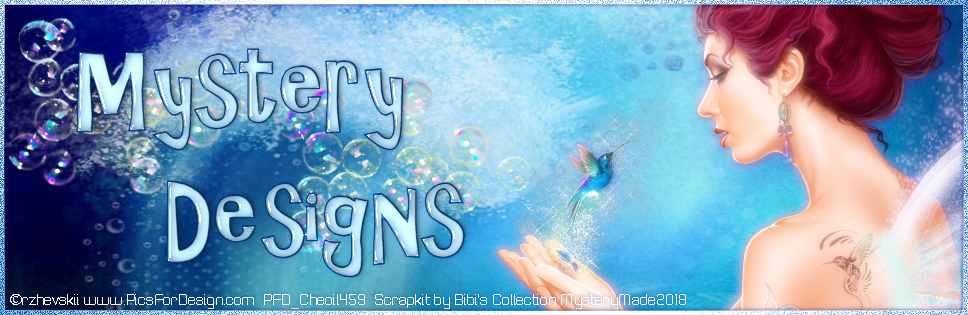
Tube of choice. I'm using a the awesome art of Justice Howard which you can purchase here
Scrapkit of choice. I'm using a fab kit by Freek's Creations which you can purchase here
Template of choice. I'm using one by Leah – Template 29 which you can collect here
Mask of choice. I'm using two different masks for this particular tag. They are both by Vaybs – Mask 72 and 89 which you can collect here and here
Font of choice
Please take a moment to leave some love when you download from these wonderful designers <3 Thanks x
**Plugins**
Penta.com – Jeans
Xenofex 2 - Constellation
Ready? Lets begin.....
Open up your tube
Press shift+d to duplicate
Close the original
Open up the template
Press shift+d to duplicate
Close the original
Image – Canvas Size – 600x600 pixels
Highlight the “credits” layer and hit delete
Hide the “bg” layer
Highlight the “circle back” layer
Selections – Select All – Float – Defloat
Layers – New Raster Layer and rename “circle back a”
Grab your Flood Fill Tool
Change your background to a colour of choice. I am using #9911ac
Floodfill your selection
Selections – None
Adjust – Add/Remove Noise with these settings :

Adjust – Sharpness – Sharpen
Add a drop shadow
Delete the “circle back” layer
Highlight the “circle” layer
Selections – Select All – Float – Defloat
Layers – New Raster Layer and rename “circle a”
Open up “FC_EG_P7” from the kit
Copy – Paste – Into Selection
Selections – None
Delete the “circle” layer
Highlight the “square 3” layer
Selections – Select All – Float – Defloat
Layers – New Raster Layer and rename “square 3a”
Open up “FC_EG_P11” from the kit
Copy – Paste – Into Selection
Selections – None
Delete the “square 3” layer
Highlight the “square 3 frame” layer
Adjust – Brightness and Contrast – Brightness/Contrast
Change Brightness to -255 and Contrast to 0
Highlight the “rect” layer
Selections – Select All – Float – Defloat
Layers – New Raster Layer and rename “rect a”
Grab your Floodfill tool again and change your background to another colour from your tube/kit. I am using #f309cf
Floodfill your selection
Selections – None
Effects – Penta.com – Jeans with the default settings :

Add a drop shadow
Delete the “rect” layer
Highlight the “square 2” layer
Selections – Select All – Float – Defloat
Layers – New Raster Layer and rename “square 2a”
Open up “FC_EG_P2” from the kit
Copy – Paste – Into Selection
Selections - None
Add a drop shadow
Highlight the “square 1” layer
Adjust – Add/Remove Noise with the same settings as earlier
Highlight the “lrg rect” layer
Selections – Select All – Float – Defloat
Layers – New Raster Layer and rename “lrg rect a”
Grab your Floodfill Tool and change your background to a third colour that compliments your tag. I am using #249bd5
Floodfill your selection
Selections – None
Add a drop shadow
Delete the “lrg rect” layer
Highlight the “sm square 3” layer
Selections – Select All – Float – Defloat
Layers – New Raster Layer and rename “sm square 3a”
Grab “FC_EG_P11” from the kit again
Copy – Paste – Into Selection
Selections – None
Delete the “sm square 3” layer
Highlight the “sm square 2” layer
Selections – Select All – Float – Defloat
Layers – New Raster Layer and rename “sm square 2a”
Grab “FC_EG_P11” from the kit again
Copy – Paste – Into Selection
Selections – None
Delete the “sm square 2” layer
Highlight the “sm square 1” layer
Selections – Select All – Float – Defloat
Layers – New Raster Layer and rename “sm square 1a”
Grab “FC_EG_P11” from the kit again
Copy – Paste – Into Selection
Selections – None
Delete the “sm square 1” layer
Highlight the “kick ass back” layer
Adjust – Brightness/Contrast with the same settings as before
Add a drop shadow
Highlight the “kick ass” layer
Selections – Select All – Float – Defloat
Layers – New Raster Layer and rename “kick ass a”
Grab your Floodfill Tool again and choose a colour from your tag. I am using #9911ac again
Floodfill your selection
Selections – None
Adjust – Add/Remove Noise – Add Noise with the previous settings
Delete the “kick ass” layer
Highlight the “chick” layer
Adjust – Brightness and Contrast – Brightness/Contrast
Change Brightness to 255 and Contrast to 0
Add a drop shadow
Highlight the closed off “bg” layer
Layers – New Raster Layer and rename “mask 1”
Grab your Floodfill Tool and change the background colour to black
Floodfill your “mask 1” layer
Layers – Load/Save Mask – Load Mask From Disk and choose “DBV Mask 72” with these settings :

Layers – New Raster Layer and rename “mask 2”
Floodfill again with black
Layers – Load/Save Mask – Load Mask From Disk and choose “DBV Mask 89” with the same settings
We are now ready to begin adding elements and our tube. Please feel free to add whichever items you wish, mine below are merely given as a guideline :)
Highlight your “mask 2” layer
Open up “FC_EG_E36” from the kit
Copy – Paste – As New Layer and rename “splat”
Open up “FC_EG_E26” from the kit
Copy – Paste – As New Layer and rename “wire 1”
Adjust – Hue and Saturation – Colorize
Hue and Saturation both 0
Arrange the wire towards the top of your tag like so :

Layers – Duplicate and rename “wire 2”
Image – Mirror
Image – Flip
Highlight your “sm square 1a” layer
Open up “FC_EG_E5” from the kit
Copy – Paste – As New Layer and rename “lips”
Image – Resize – 25%
Image – Rotate – Free Rotate with these settings :

Arrange towards the top of your tag (see mine above for guidance)
Add a drop shadow
Open up “FC_EG_E9” from the kit
Copy – Paste – As New Layer and rename “wings”
Image – Resize – 30%
Image – Rotate – Free Rotate with these settings :

Arrange over in the top right-hand corner of your tag (again see mine above for guidance)
Add a drop shadow
Grab your tube
Copy – Paste – As New Layer and rename “tube”
Arrange to your liking
Add a drop shadow
Open up “FC_EG_E22” from the kit
Copy – Paste – As New Layer and rename “tents”
Image – Resize – 75%
Arrange over to the bottom-right of your tag
Open up “FC_EG_E33” from the kit
Copy – Paste – As New Layer and rename “banner”
Arrange slightly to the left along the bottom of your tag
Add a drop shadow
Open up “FC_EG_E31” from the kit
Copy – Paste – As New Layer and rename “rose”
Image – Resize – 45%
Arrange behind the “kick ass” word art
Add a drop shadow
Highlight the “chick” layer
Open up “FC_EG_E17” from the kit
Copy – Paste – As New Layer and rename “shoe”
Image – Resize – 45%
Arrange over on the bottom-right of your tag
Add a drop shadow
Open up “FC_EG_E11” from the kit
Copy – Paste – As New Layer and rename “star 1”
Image – Resize – 30%
Arrange over on the bottom-left of your tag
Add a drop shadow
Open up “FC_EG_E6” from the kit
Copy – Paste – As New Layer and rename “heart”
Image – Resize – 20%
Image – Rotate – Free Rotate with these settings :

Arrange at the bottom-left of your tag next to the star we just placed
Add a drop shadow
Open up “FC_EG_E4” from the kit
Copy – Paste – As New Layer and rename “cat”
Image – Resize – 30%
Arrange along the bottom of your tag between the heart and the shoe
Add a drop shadow
Open up “FC_EG_E12” from the kit
Copy – Paste – As New Layer and rename “star 2”
Image – Resize – 25%
Image – Mirror
Arrange over by the wings we placed earlier
Add a drop shadow
Open up “FC_EG_E35” from the kit
Copy – Paste – As New Layer and rename “trail”
Effects – Xenofex 2 – Constellation with these settings :

**If you would like to resize your tag, now is the time to do so**
Add your name and all copyrights.
Save your finished tag and you’re done!
Here is another example using one of the awesome emo girls which come as part of the kit :)


No comments:
Post a Comment